
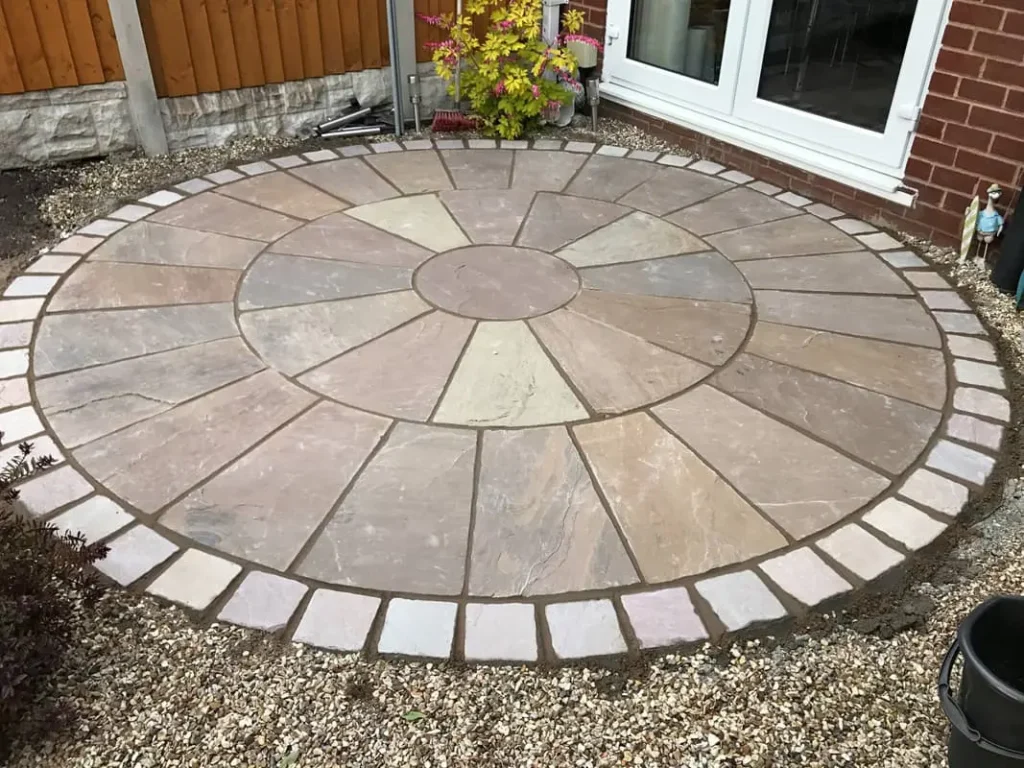
Looking for a new and exciting way to bring your garden to life? A patio island could be just the ticket, where you install an area of hard landscaping outside to serve a specific function, whether that’s an outdoor kitchen, a raised garden bed or simply something decorative.
These reimagined patio areas are fantastic for bringing your garden to life, creating a unique and distinctive focal point and extending your living areas, while meeting the needs of your lifestyle and family.
But where to begin?
Here are some tips to make sure that you get your patio island installation project off on the right foot.
1. Plan & prepare the site
Map out the space where you want the island to go, taking into account the room you’ll need for any appliances like BBQs, grills and so on. You’ll need to ensure that the base for the patio is completely level and able to support heavy weights.
And, depending on what you want to use the patio for, you may need to plan for the use of plumbing and electricity, so factor this in early on.
2. Decide on materials
Smooth materials for the patio itself are the best option if you’re going to be using the patio island as an outdoor kitchen, as it ensures that the flooring is consistent and even.
If you go for something roughhewn, you’ll find that you’ll need to do extra work to elevate the kitchen to clear the highest points of your stone paving.
This is less of a concern if you’re going to use the island for something else, like a seating area or a garden bed. But do bear in mind that you may want something non-slip if you go for smooth stone.
3. Create a slope
It’s essential that you build your patio so that it has a slight slope, falling away from the walls of the house. This will ensure that rainwater is able to drain away properly. A step you won’t want to miss out!